In this blog post, we’ll explore everything you need to know about tempered vs. untempered chocolate and how to temper chocolate at home.
Have you ever wondered why some chocolate bars have a glossy appearance and snap when broken, while others seem to melt as soon as you touch them? The answer lies in the tempering process, a particular chocolate technique and cake decorating term you’re about to learn all about.
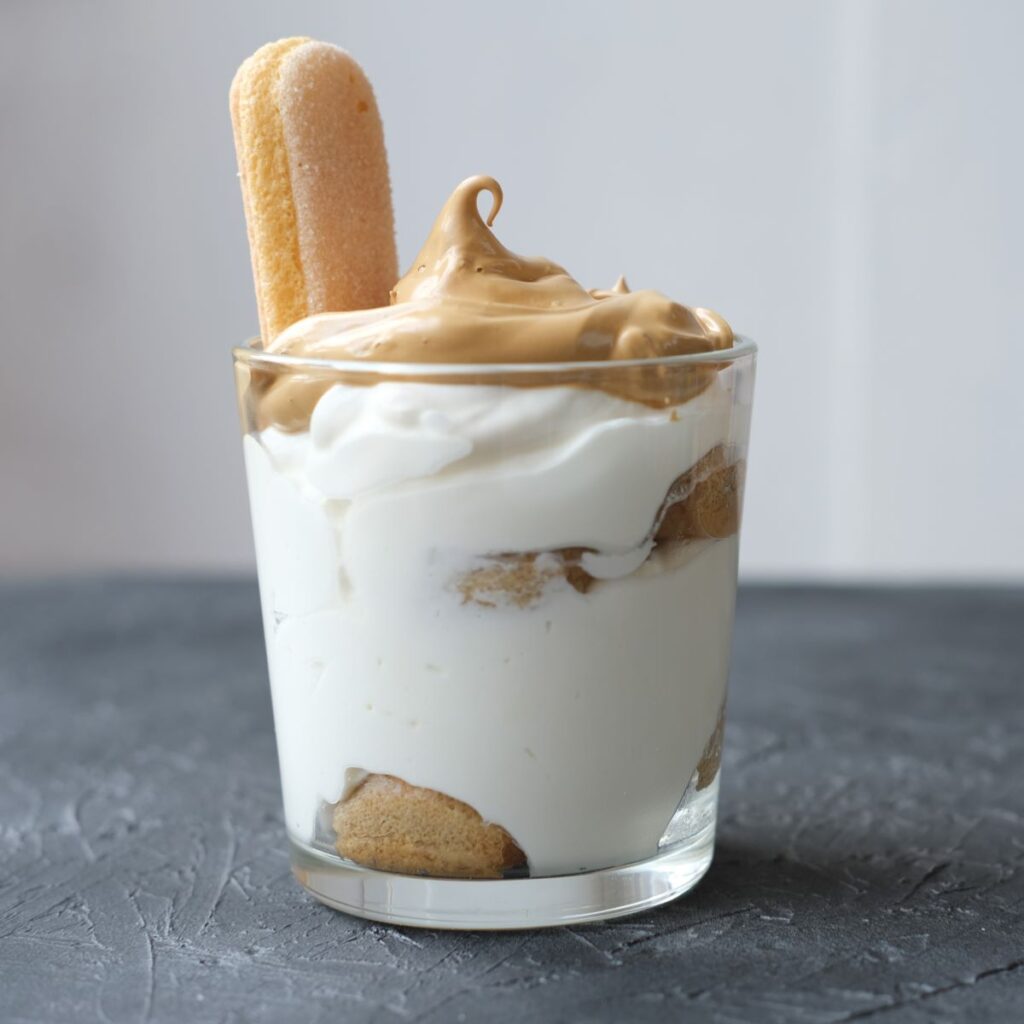
Featured Chocolate recipe: Dalgona Chocolate Milk
Tempered Chocolate
Tempered chocolate goes through a unique process called “tempering.” This process heats and cools chocolate in a controlled manner to create stable cocoa butter crystals. Tempering gives chocolate its desirable properties, like a satisfying snap when broken and a better mouthfeel.
Pros of Tempered Chocolate:
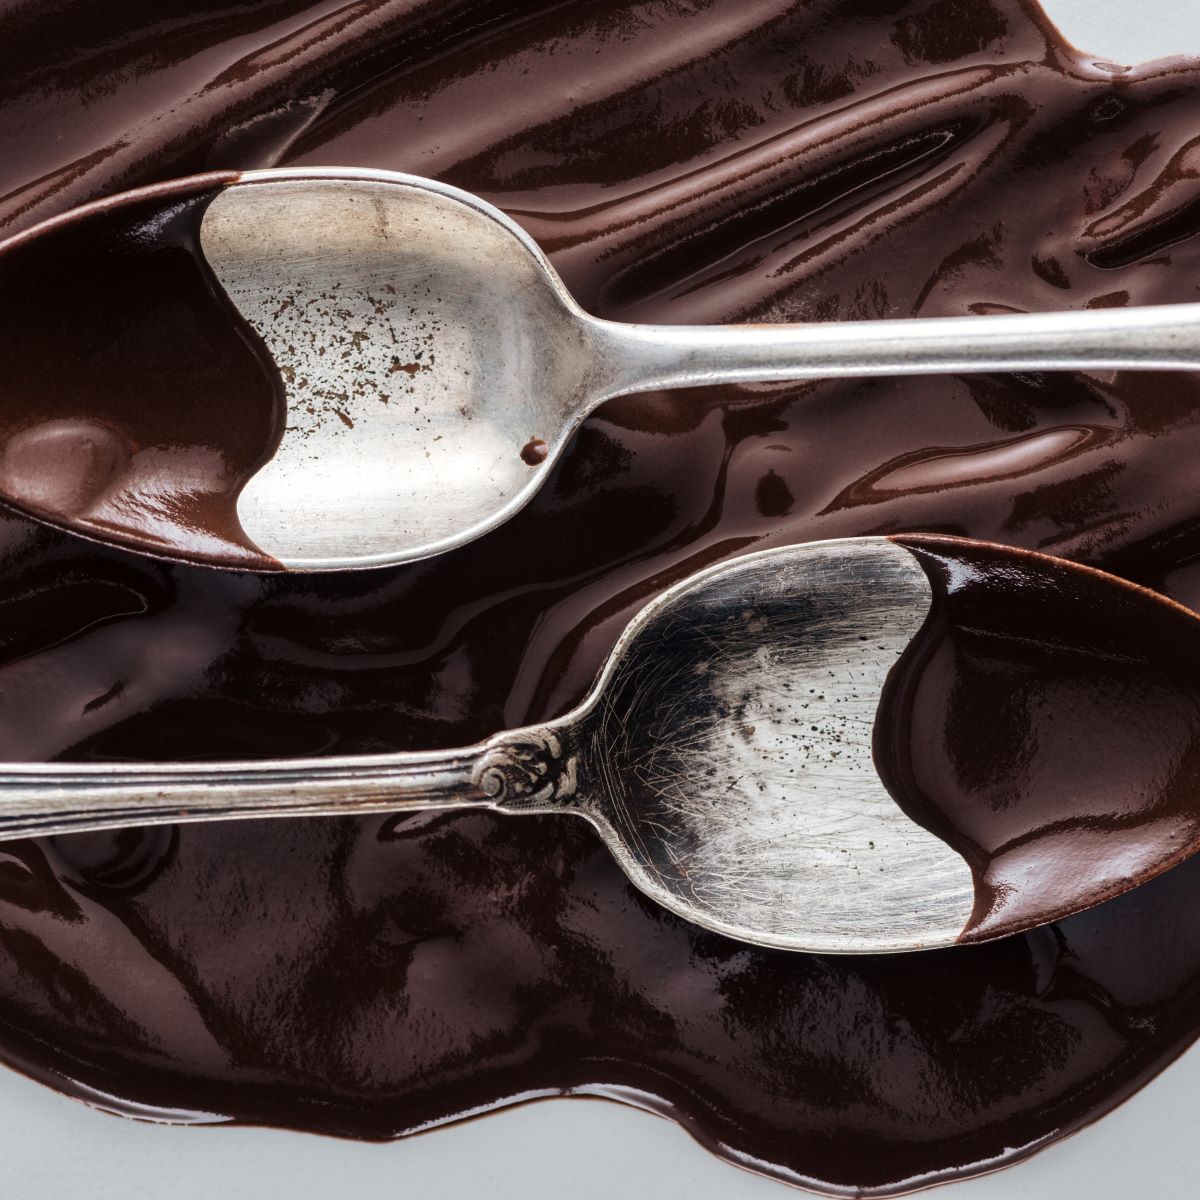
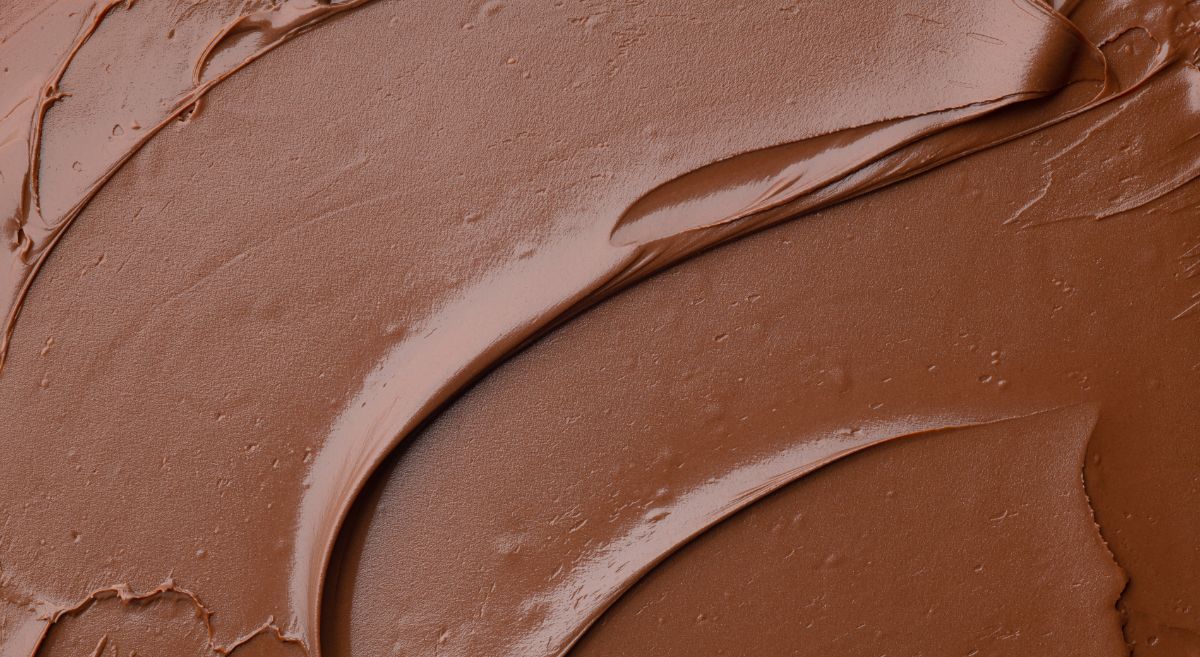
- Glossy Appearance: Tempered chocolate has a beautiful, shiny finish, making it visually appealing. This glossiness results from the stable cocoa butter crystals formed during the tempering process.
- Snap when Broken: A well-tempered chocolate bar should have a crisp snap when you break it or bite into it.
- Longer Shelf Life: Tempered chocolate has a longer shelf life than untempered chocolate because it is less susceptible to bloom (the white or gray streaks you sometimes see on chocolate). Those streaks can appear on the surface of chocolate when the cocoa butter separates and rises to the surface.
Cons of Tempered Chocolate:
- More time-consuming process: Tempering chocolate can take much longer than working with untempered chocolate because you must carefully heat and cool the chocolate to achieve the right structure. This extra time may not be suitable for those in a rush or with limited time for baking.
- Requires precise temperature control: During the tempering process, you must maintain a specific temperature range to form stable cocoa butter crystals. This means you must constantly monitor the temperature and adjust the heat as needed. This can be challenging for some home bakers.
- Tricky for beginners: If you’re new to chocolate tempering, it might take a few attempts to get the hang of it. You might encounter issues such as over-tempering or failing to achieve the desired texture.
Untempered Chocolate
Untempered chocolate, on the other hand, hasn’t gone through the tempering process. As a result, it has more of a dull appearance and does not get crisp or as hard as tempered chocolate.
Untempered chocolate melts quickly at room temperature, making it less suitable for recipes requiring a firm texture.
However, it can be perfect for recipes where the chocolate needs to be melted or combined with other ingredients! For instance, ganache and truffle filling use untempered chocolate.
Pros of untempered chocolate:
- Easier and quicker to work with.
- Suitable for recipes that call for melting chocolate.
- It still tastes delicious.
Cons of untempered chocolate:
- Melts easily.
- Lacks the desired texture for some recipes.
- Has a shorter shelf life.
How to Temper Chocolate at Home
Now that you understand the differences between tempered and untempered chocolate, try tempering chocolate at home! Here’s a step-by-step guide to tempering chocolate using a microwave or double boiler method.
Equipment:

You’ll need a candy thermometer and either a microwave or double boiler to temper chocolate at home. I love this chocolate thermometer spatula.
Instructions
- Start by chopping your real chocolate into small, uniform pieces. This will help the chocolate melt evenly.
- If using a microwave, place 2/3 of the chocolate in a microwave-safe bowl and heat at 50% power at 30-second intervals. After each interval, stir until the chocolate is almost fully melted.
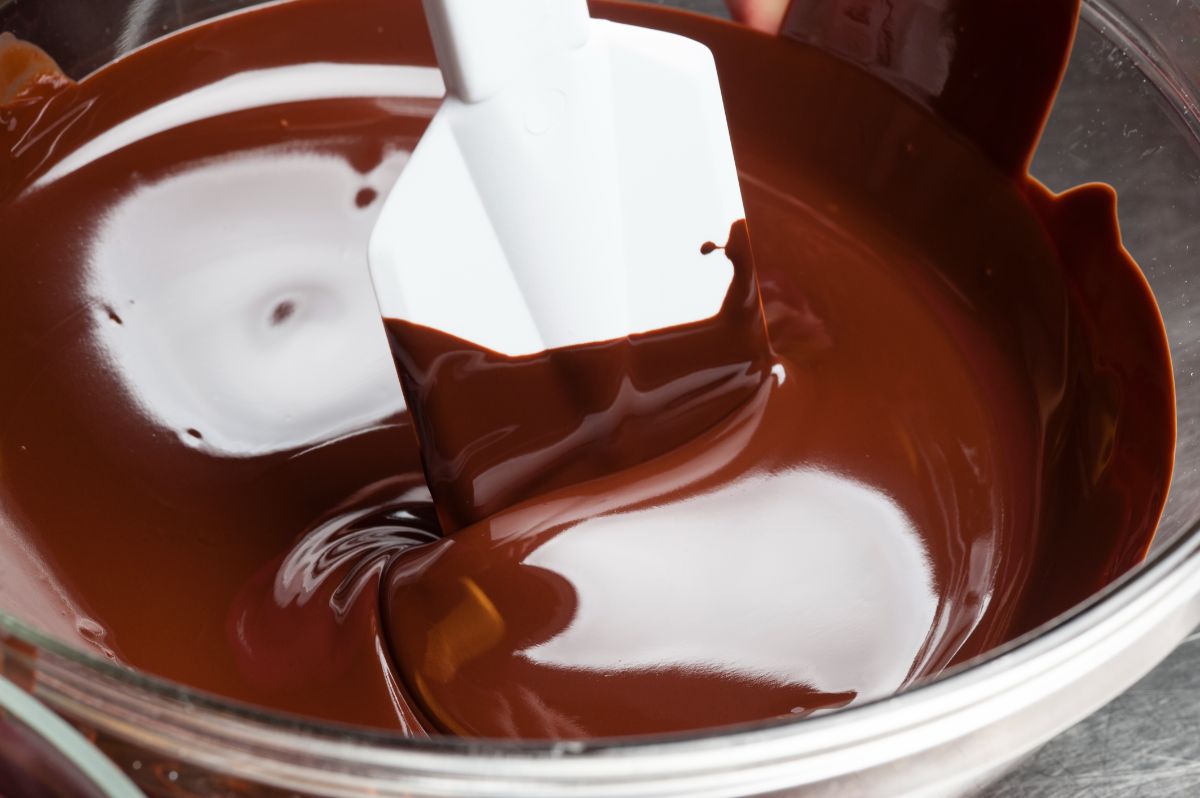
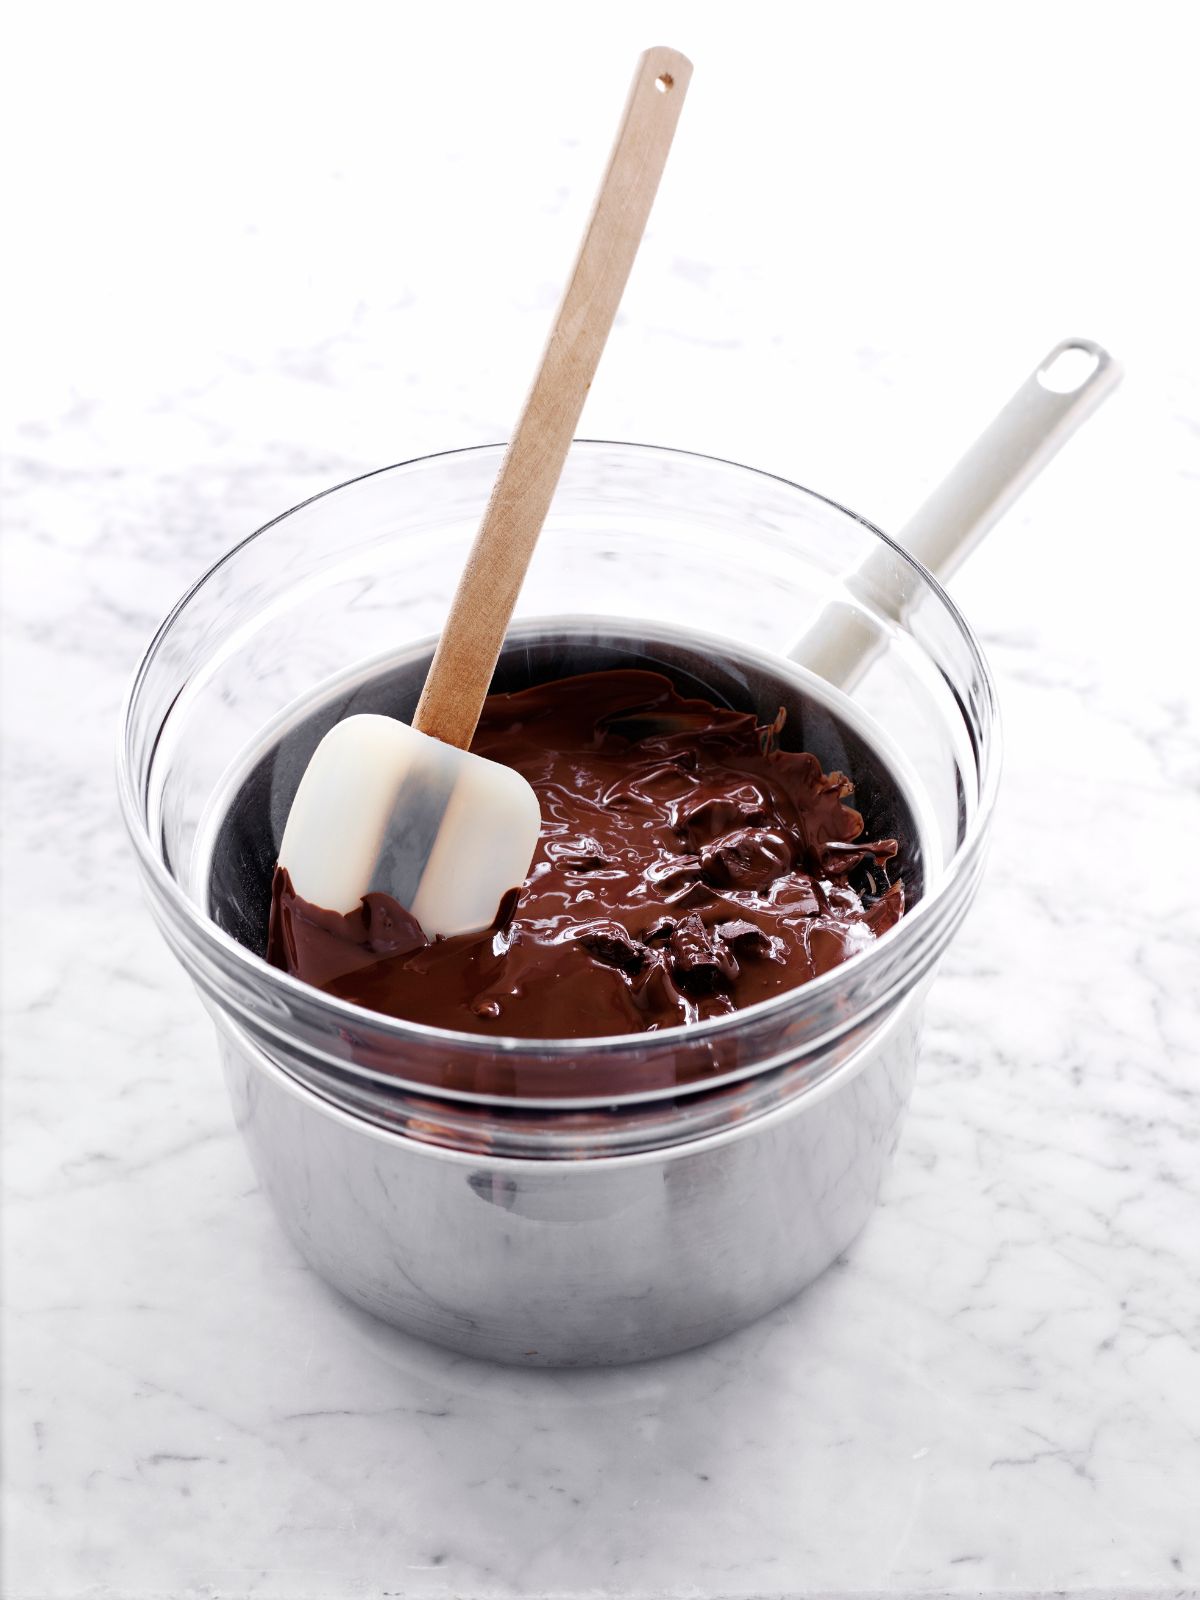
- If you’re using a double boiler, fill the bottom pot with water and heat it to a simmer. Place the chocolate in the top pot and constantly stir as it melts. When using a double boiler, make sure you don’t get any water in your chocolate–that will ruin it.
- Once the chocolate is almost melted, remove it from the heat source and continue stirring. The residual heat will finish melting the chocolate.
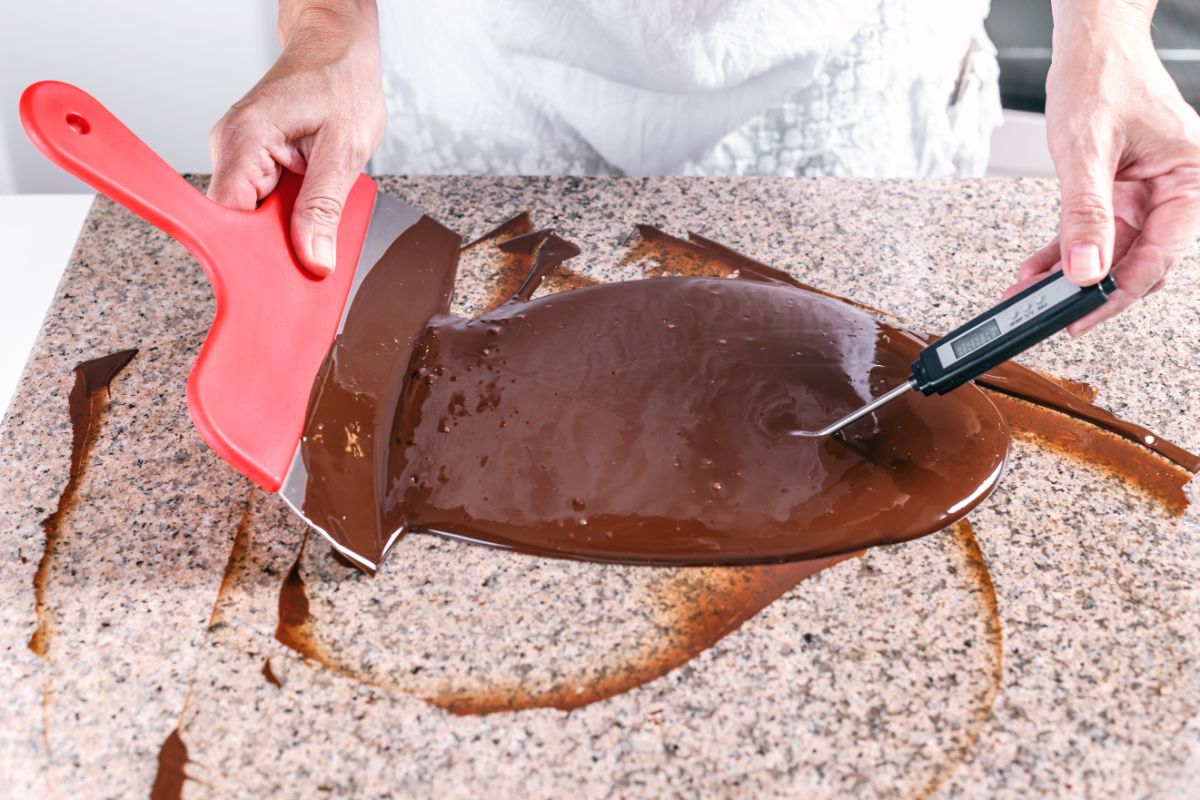
- Monitor the temperature of the chocolate using a chocolate thermometer. The target temperature for dark chocolate is 88-90°F (31-32°C), while milk and white chocolate should reach 86-88°F (30-31°C). Make sure not to exceed these temperatures, as it may cause the chocolate to become over-tempered.
- If the chocolate isn’t reaching the target temperature, add a small amount of the additional finely chopped chocolate (also known as “seed” chocolate) to help bring the temperature down and encourage proper crystallization. Keep adding a little at a time, stirring until the chocolate seed is melted before adding more.
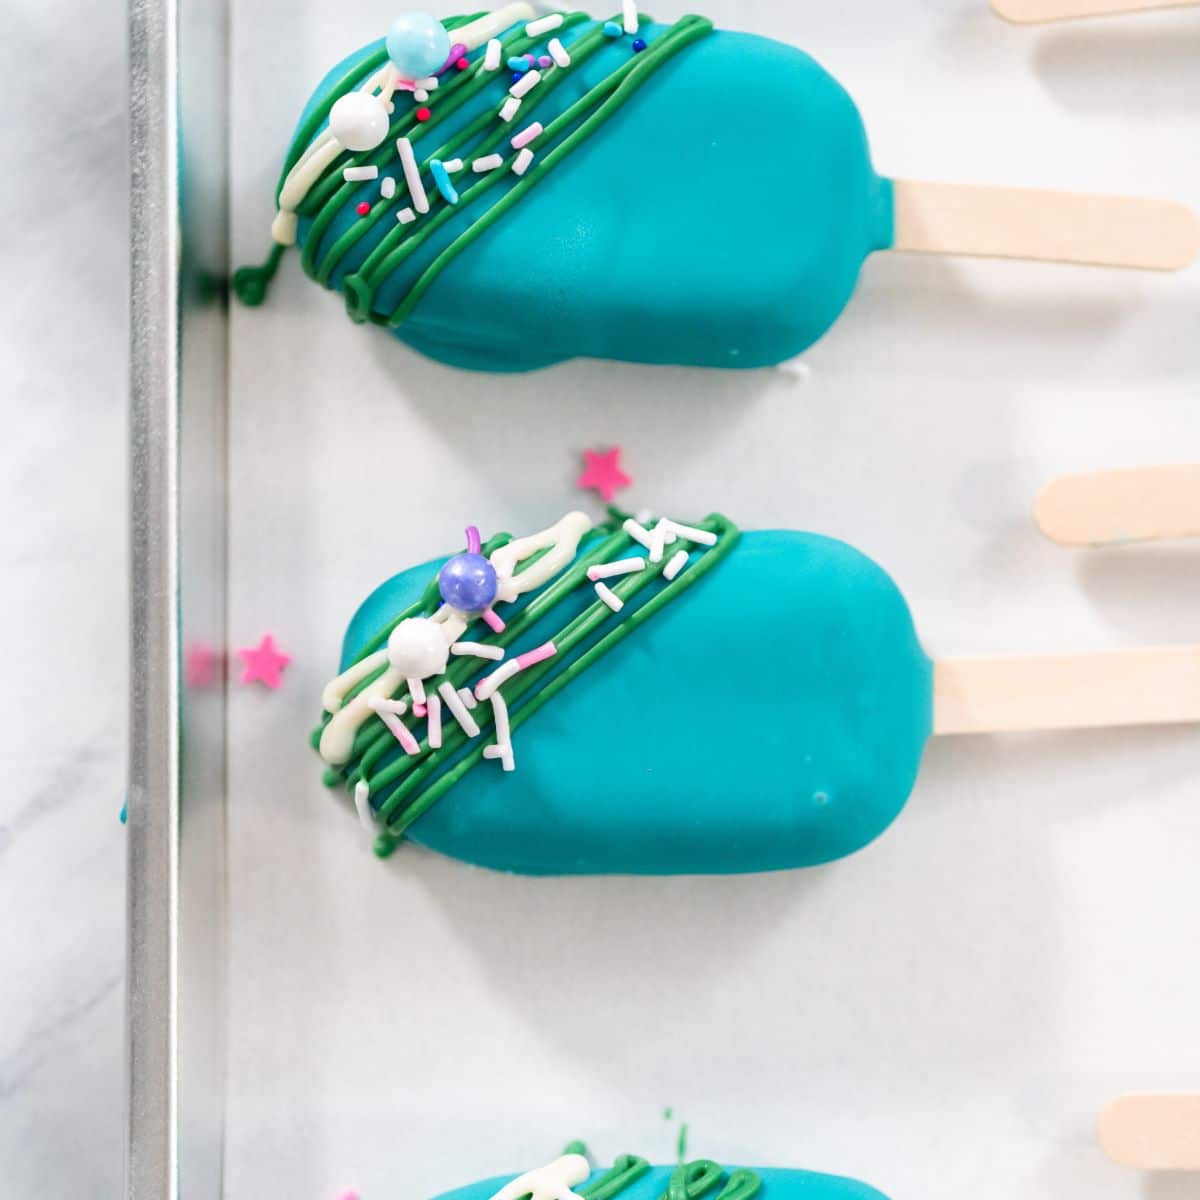
- Once the chocolate has reached the desired temperature, it’s ready to use! You can now dip your cookies, fruits, or other treats in the chocolate (like cake truffles or cake popsicles!)
- If the tempered chocolate starts to cool and thicken while you’re working with it, you can gently reheat it to maintain the proper temperature. Just be careful not to overheat the chocolate–this can cause it to lose its temper.
There’s a big difference between tempered and untempered chocolate, but with practice, you can master it at home. For a detailed visual guide, check out this chocolate tempering video by Sorted Food.
Easy Alternatives to Tempered Chocolate
I’ll admit, I’m often too impatient to temper chocolate. Instead of using untempered chocolate, you can use candy melts or melting wafers that don’t require tempering or chopping. They are meant to give you the same benefits, like a crispy chocolate shell and a glossy look.


A chocolate melting pot can save you a lot of time–just heat up your chocolate wafers or candy melts and it is ready to dip.
FAQ
Tempering chocolate can be tricky because it requires precise temperature control. Maintaining the correct temperature range is crucial to create stable cocoa butter crystals. If the temperature turns out to be too high or too low, the chocolate may not have the desired texture or appearance.
The purpose of tempering chocolate is to stabilize the chocolate–this structure gives tempered chocolate a glossy appearance, a satisfying snap when broken, and a longer shelf life.
Tempered chocolate doesn’t have a different taste, but it does have a better mouthfeel. The tempering process creates a smoother texture, which enhances the overall eating experience.
It depends. You can temper chocolate chips if they’re made from real chocolate. A lot of chocolate chips contain additives that might make tempering more difficult. Use high-quality chocolate chips or chop a bar of real chocolate into small, uniform pieces for best results.
Choose high-quality chocolate with a high cocoa content for tempering. Dark, milk, or white chocolate can all be tempered, but it’s essential to use real chocolate without additives, as additives can affect the tempering process and the final outcome.
Look for chocolate that contains cocoa butter, and avoid those with vegetable fats or other substitutes.
Understanding tempered vs. untempered chocolate can significantly improve the quality of your homemade chocolate creations! Now that you’re armed with this knowledge and a step-by-step guide, it’s time to start experimenting with tempered chocolate in your baking pursuits!
Have a little patience, and you’ll be a chocolate-tempering pro in no time.